When a roof tile is broken it is sometimes necessary to repair it with silicone as there are not always any spare tiles when you need them.
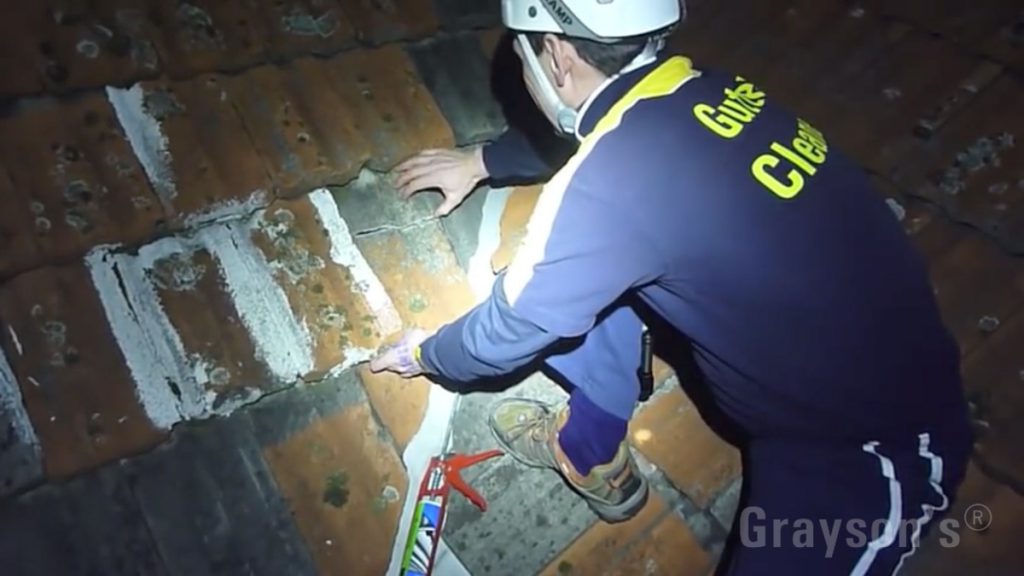
Here we demonstrate the correct method for fixing a broken roof tile if you are using roof silicone. We make the point that filling the watercourse on both sides of the broken tile is extremely important. Too many tradespeople and DIY homeowners will use silicone only on the broken edge and when the water runs down the tiles watercourse it can be blocked by the silicone and then back up into the roof. Filling the watercourse will also increase the overall strength of repaired tile.
It is always better to use a new tile to fix roof leaks but in this case there were no spares at the house and a heavy rain is predicted for that evening. The homeowner had already experienced some leaks the night before.
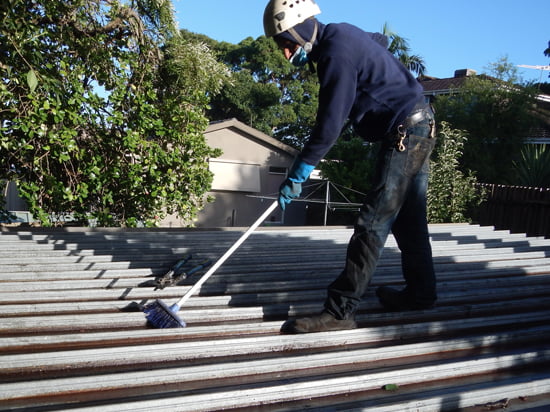
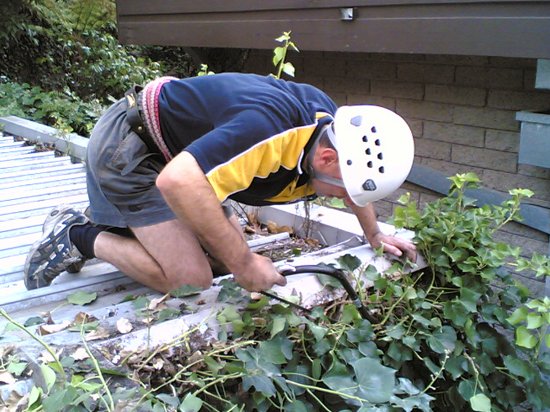
Grayson’s Gutter Cleaning have many years of experience with all different types of residential and commercial roofs across the suburbs of Melbourne. While cleaning your gutters and downpipes, we will always keep an eye out for any issues with your roof and notify you of the problem, e.g.:
- broken or cracked roof tiles
- incorrectly installed downpipe strainers
- areas of your roof like roof valleys that are capturing dirt or water run off
- entry points for pest birds like noisy miners and starlings, or animals such as possums and rats
- previously installed gutter protection or gutter guard that is no longer doing its job
If we are able to safely and properly fix the issue with your roof on the spot — e.g. fixing a broken roof tile — we are able to do that. Otherwise, we will happily provide advice on the best course of action.
For more information on our gutter cleaning services, call us now on 1300 472 976
Video Transcript
Here we are on a roof, just about to show you how to seal a broken tile if you don’t have any spares.
The first step is preparing the silicone tube. I take a knife, and just cut the top off, exposing the glue inside.
The next step is just taking the nozzle and making a 45 degree cut, just to make the opening bigger so I get more silicone as I work.
I then screw that on top, and put it inside the silicone gun.
Here’s this tile, now we don’t have any spares, so we’re just going to use our silicone.
I’ve prepared my silicone gun, I then apply a nice thick layer of silicone along the edge of the entire break.
Now obviously you’d be better off putting a new tile in here, but we don’t actually have any spares — this is just an emergency fix job for the moment, because it’s actually going to rain tonight.
Now the next phase, I want to fill this water course up — there’s no point doing this unless you fill the water course, because the water will run down the water course and go inside that crack.
Normally it’s only necessary to fill the water course up below the break, but in this case because it’s so close to the valley, I’ll just apply a bit more silicone there. Then, a bit more in this water course as well.
I’ll just put a bit more on top of that breakage. I’m actually using a lot more silicone than I’d like to be using.
Now that I’ve fixed this tile, obviously I don’t want to put any weight on it. I don’t want to stand anywhere on this tile or near it, so any of these tiles around here should not be touched for at least the next 10-15 hours possibly, just to really give that a chance to dry properly.
The silicone we’re using is very strong, we’re using the highest quality roof and gutter silicone.
So here you can see Lap is filling the water course on another broken tile. But if you don’t fill the water course when you’re doing this, it’s really pointless because the water just runs down that crack and then straight into the roof. So you basically have to fill the water course above the breakage, and then up to about an inch below the breakage. And, depending on the roof type, you may have to fill the water course all the way down to the bottom of the tile.


